
Getting Down in Africa – Low Angle Photography Why & How

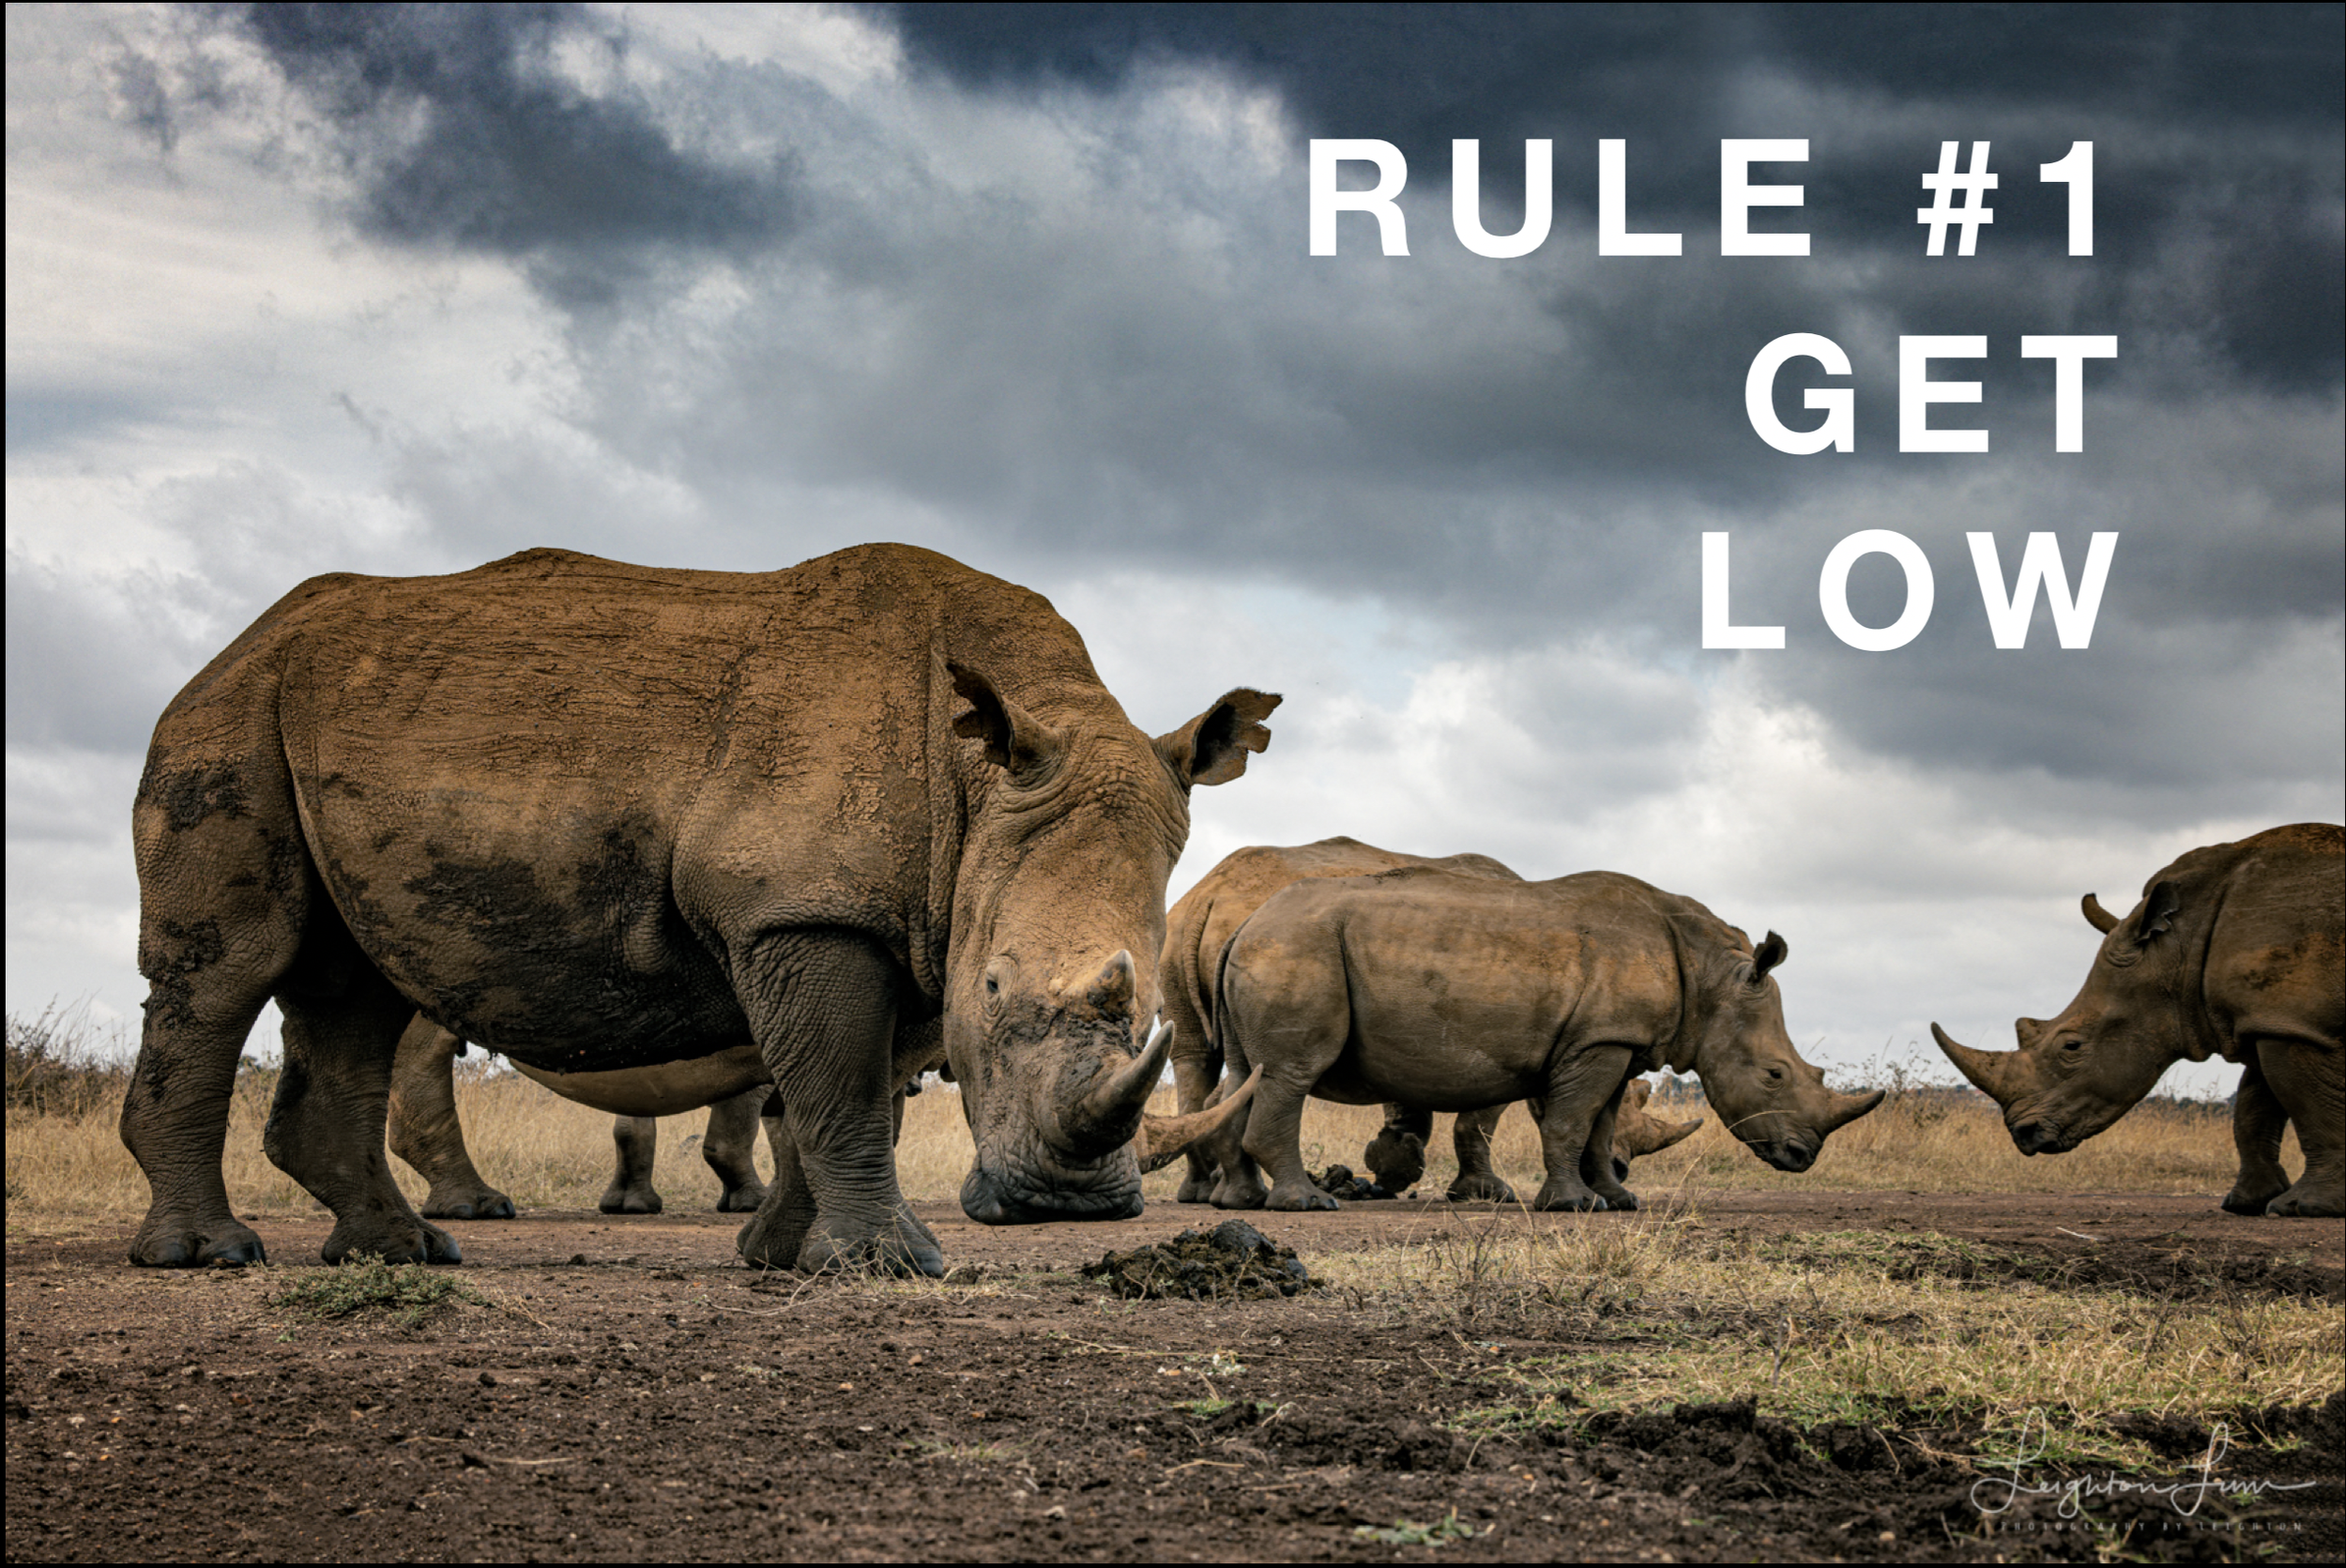
Rule #1 of wildlife photography is Get Low. But why? And how do you even get low when you’re confined to the inside of a safari vehicle as is almost always the case in Africa?
Why Go Low?
The change in perspective that comes with a low camera angle (eye level or below) can be helpful in many ways:
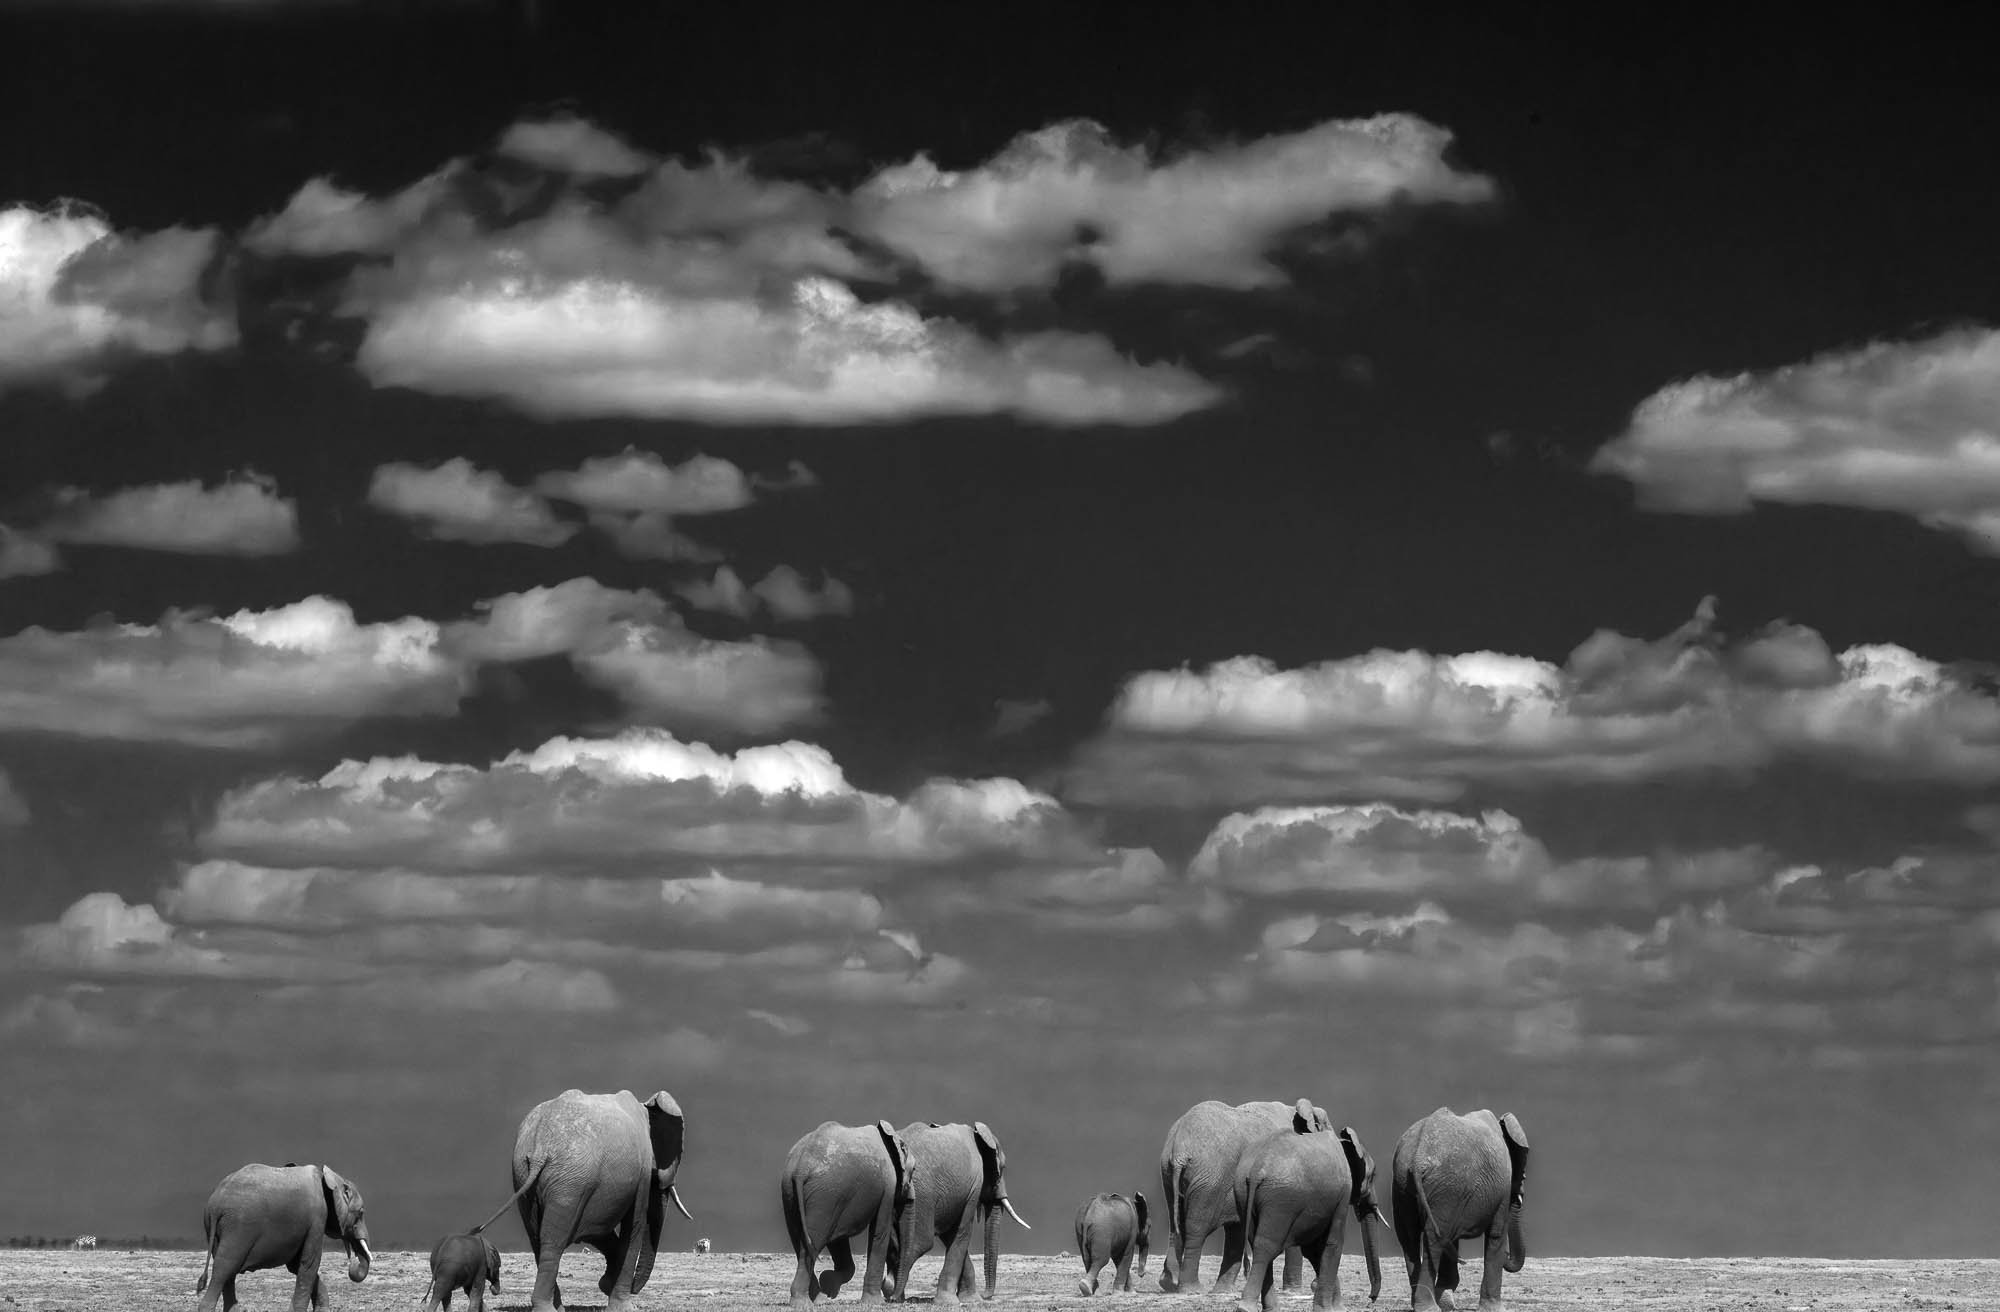
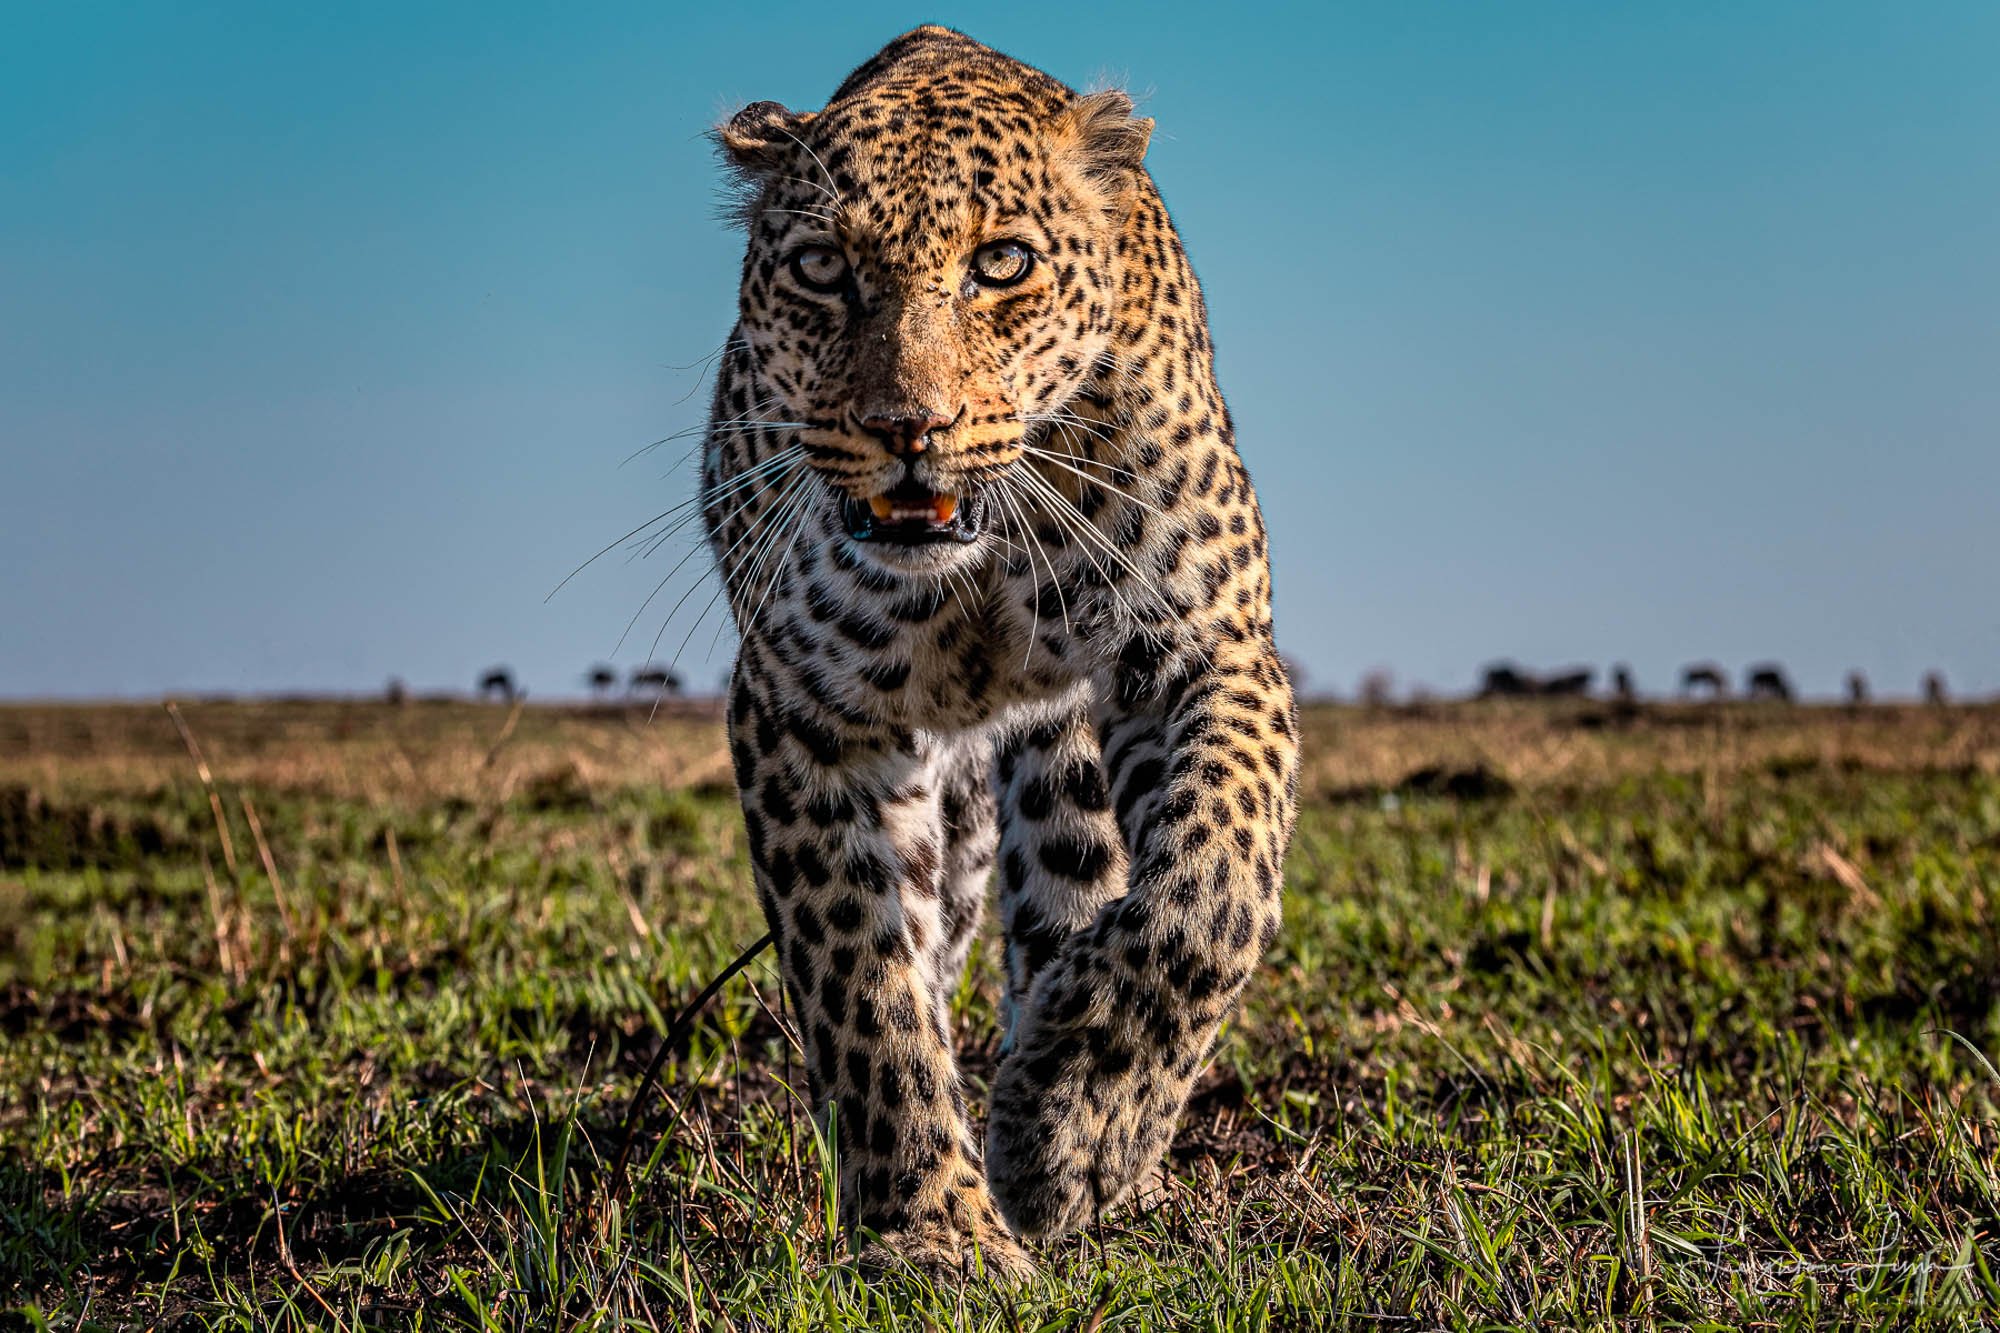
Eliminate busy, boring or low-contrast backgrounds - when photographing animals from above, it’s hard to end up with anything other than the ground as a background. While that’s not necessarily a bad thing if the landscape or light is interesting, shooting from near ground level gives you options, like having sky behind your subject. Predators and prey are also naturally evolved to blend into the landscape which is great for survival but not always helpful for pictures.
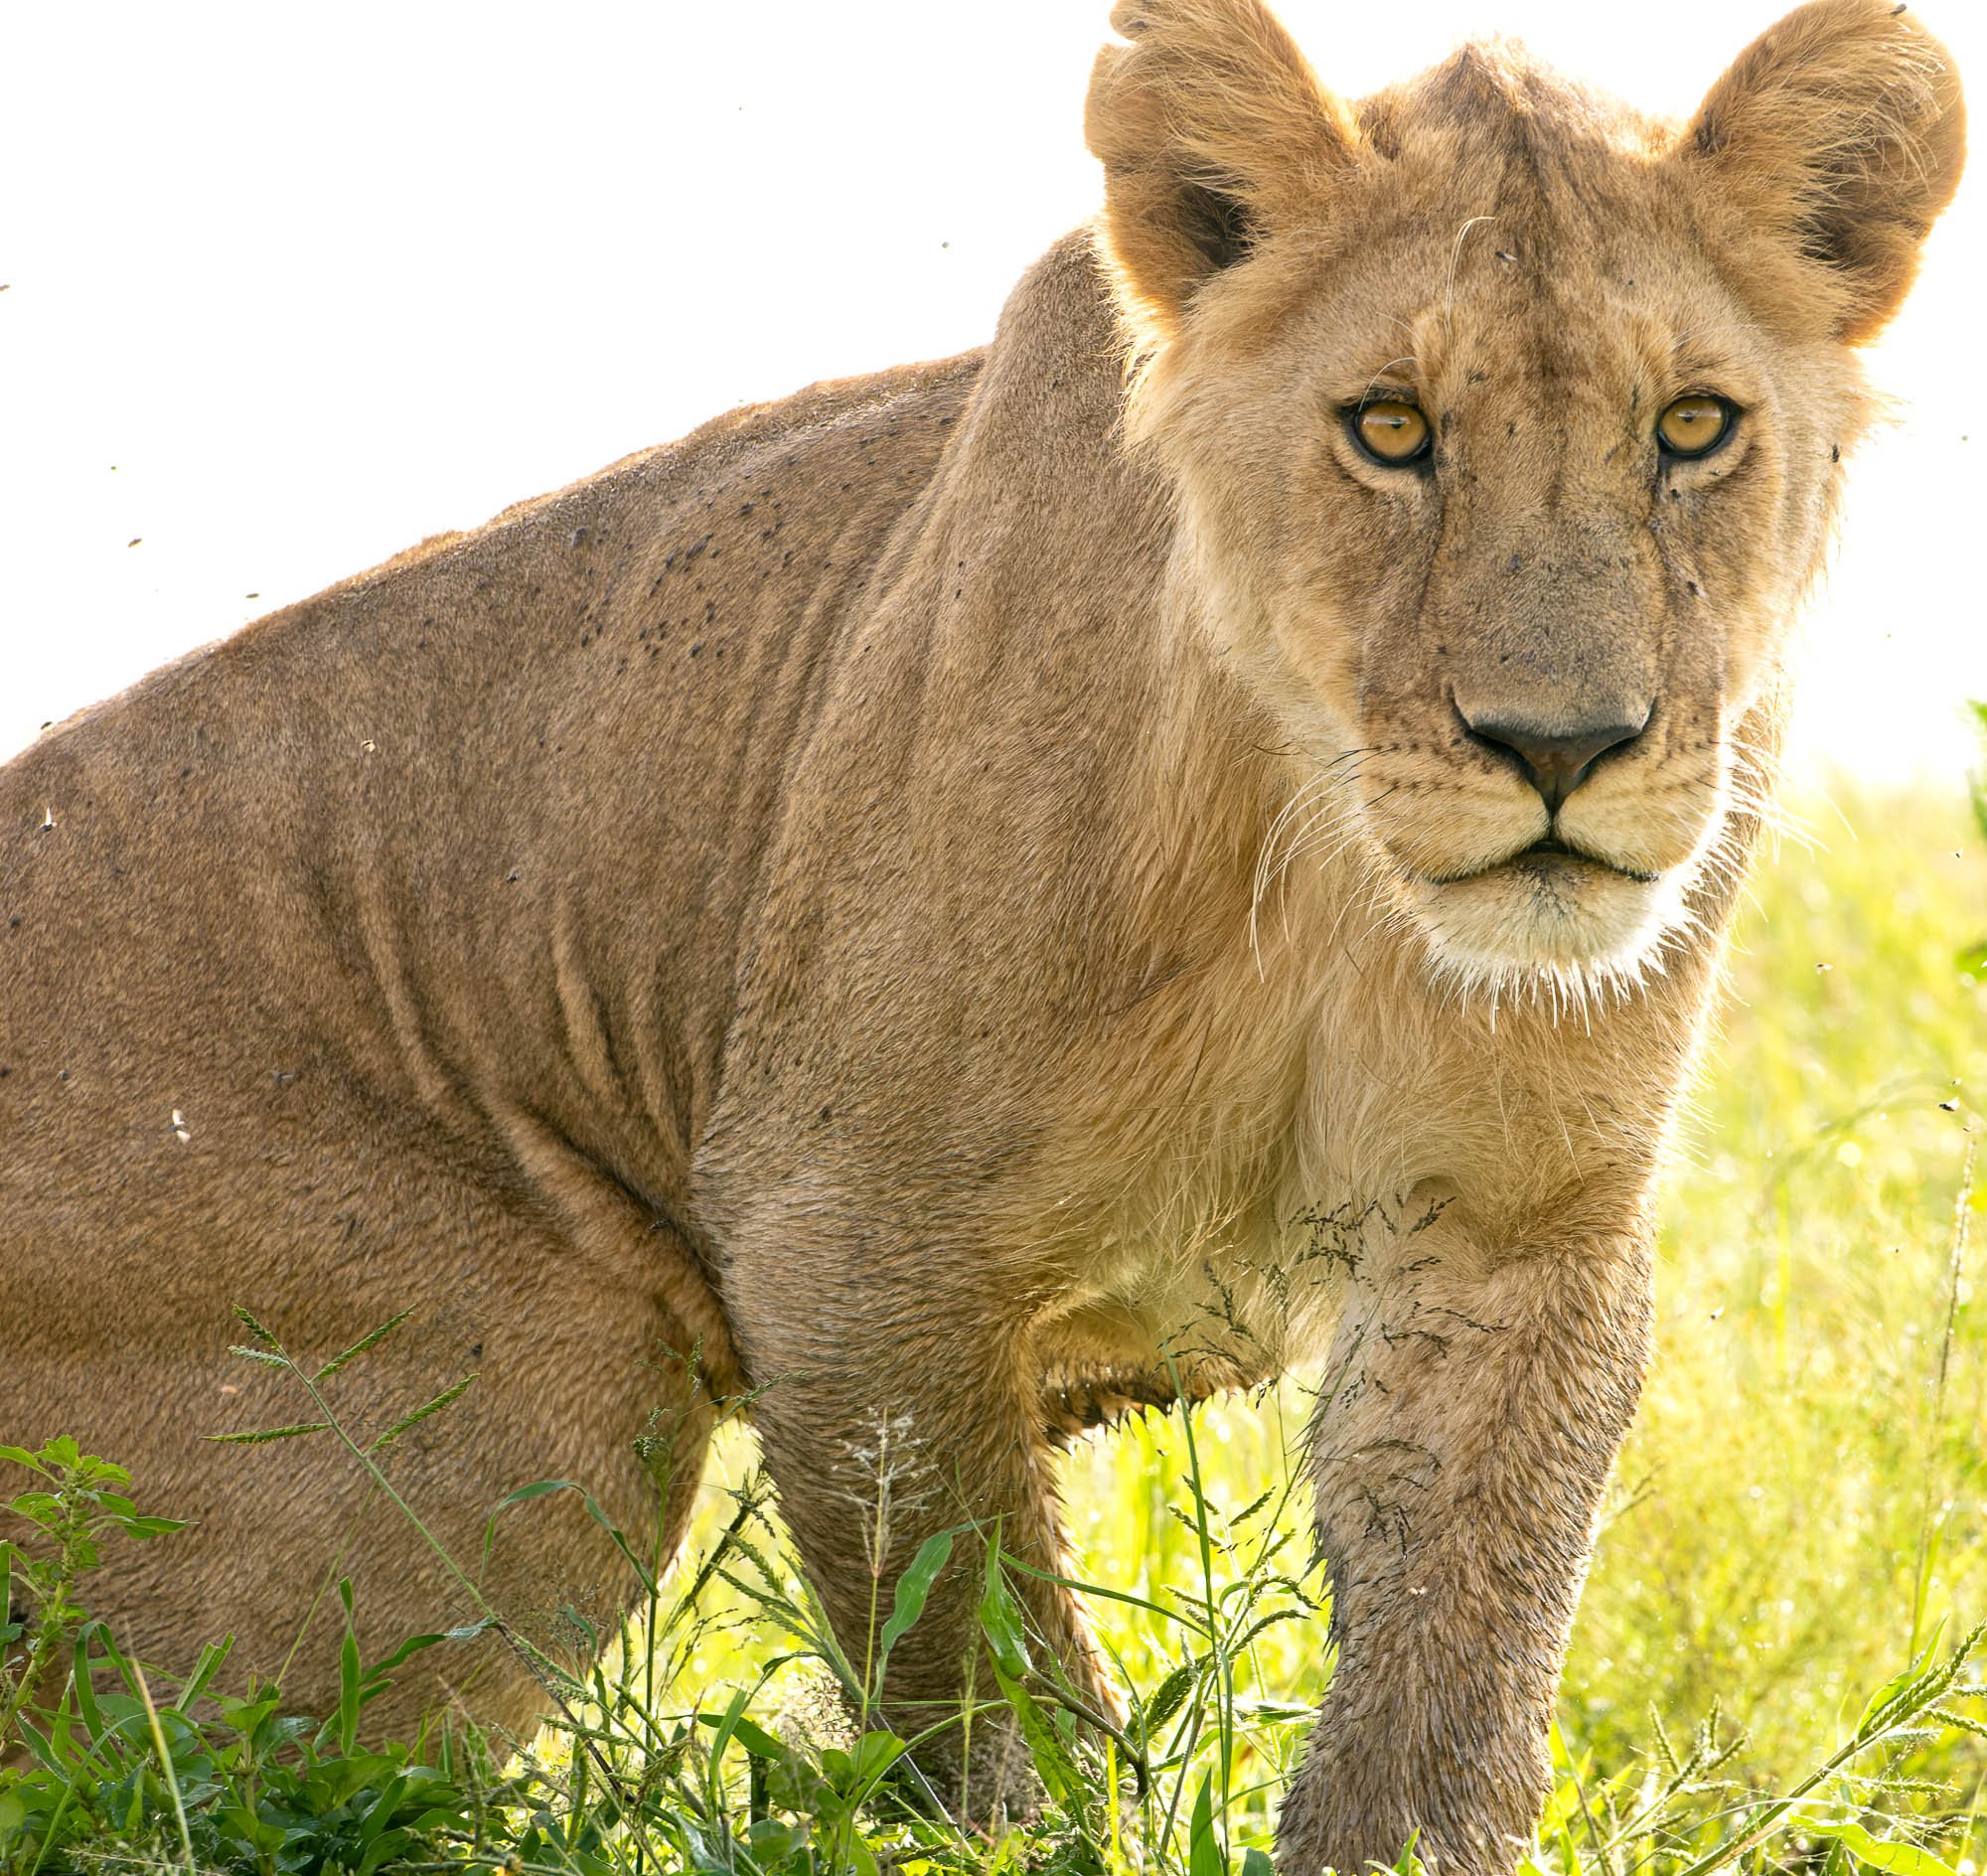
Create connection – direct eye contact creates a powerful connection with your subject but it’s hard to achieve - parts of the eye are often obscured by the shadow cast from the eyelid or brow. A low angle helps you clearly see the subject’s pupil and iris. The result is a subtle but noticeable increase in impact.
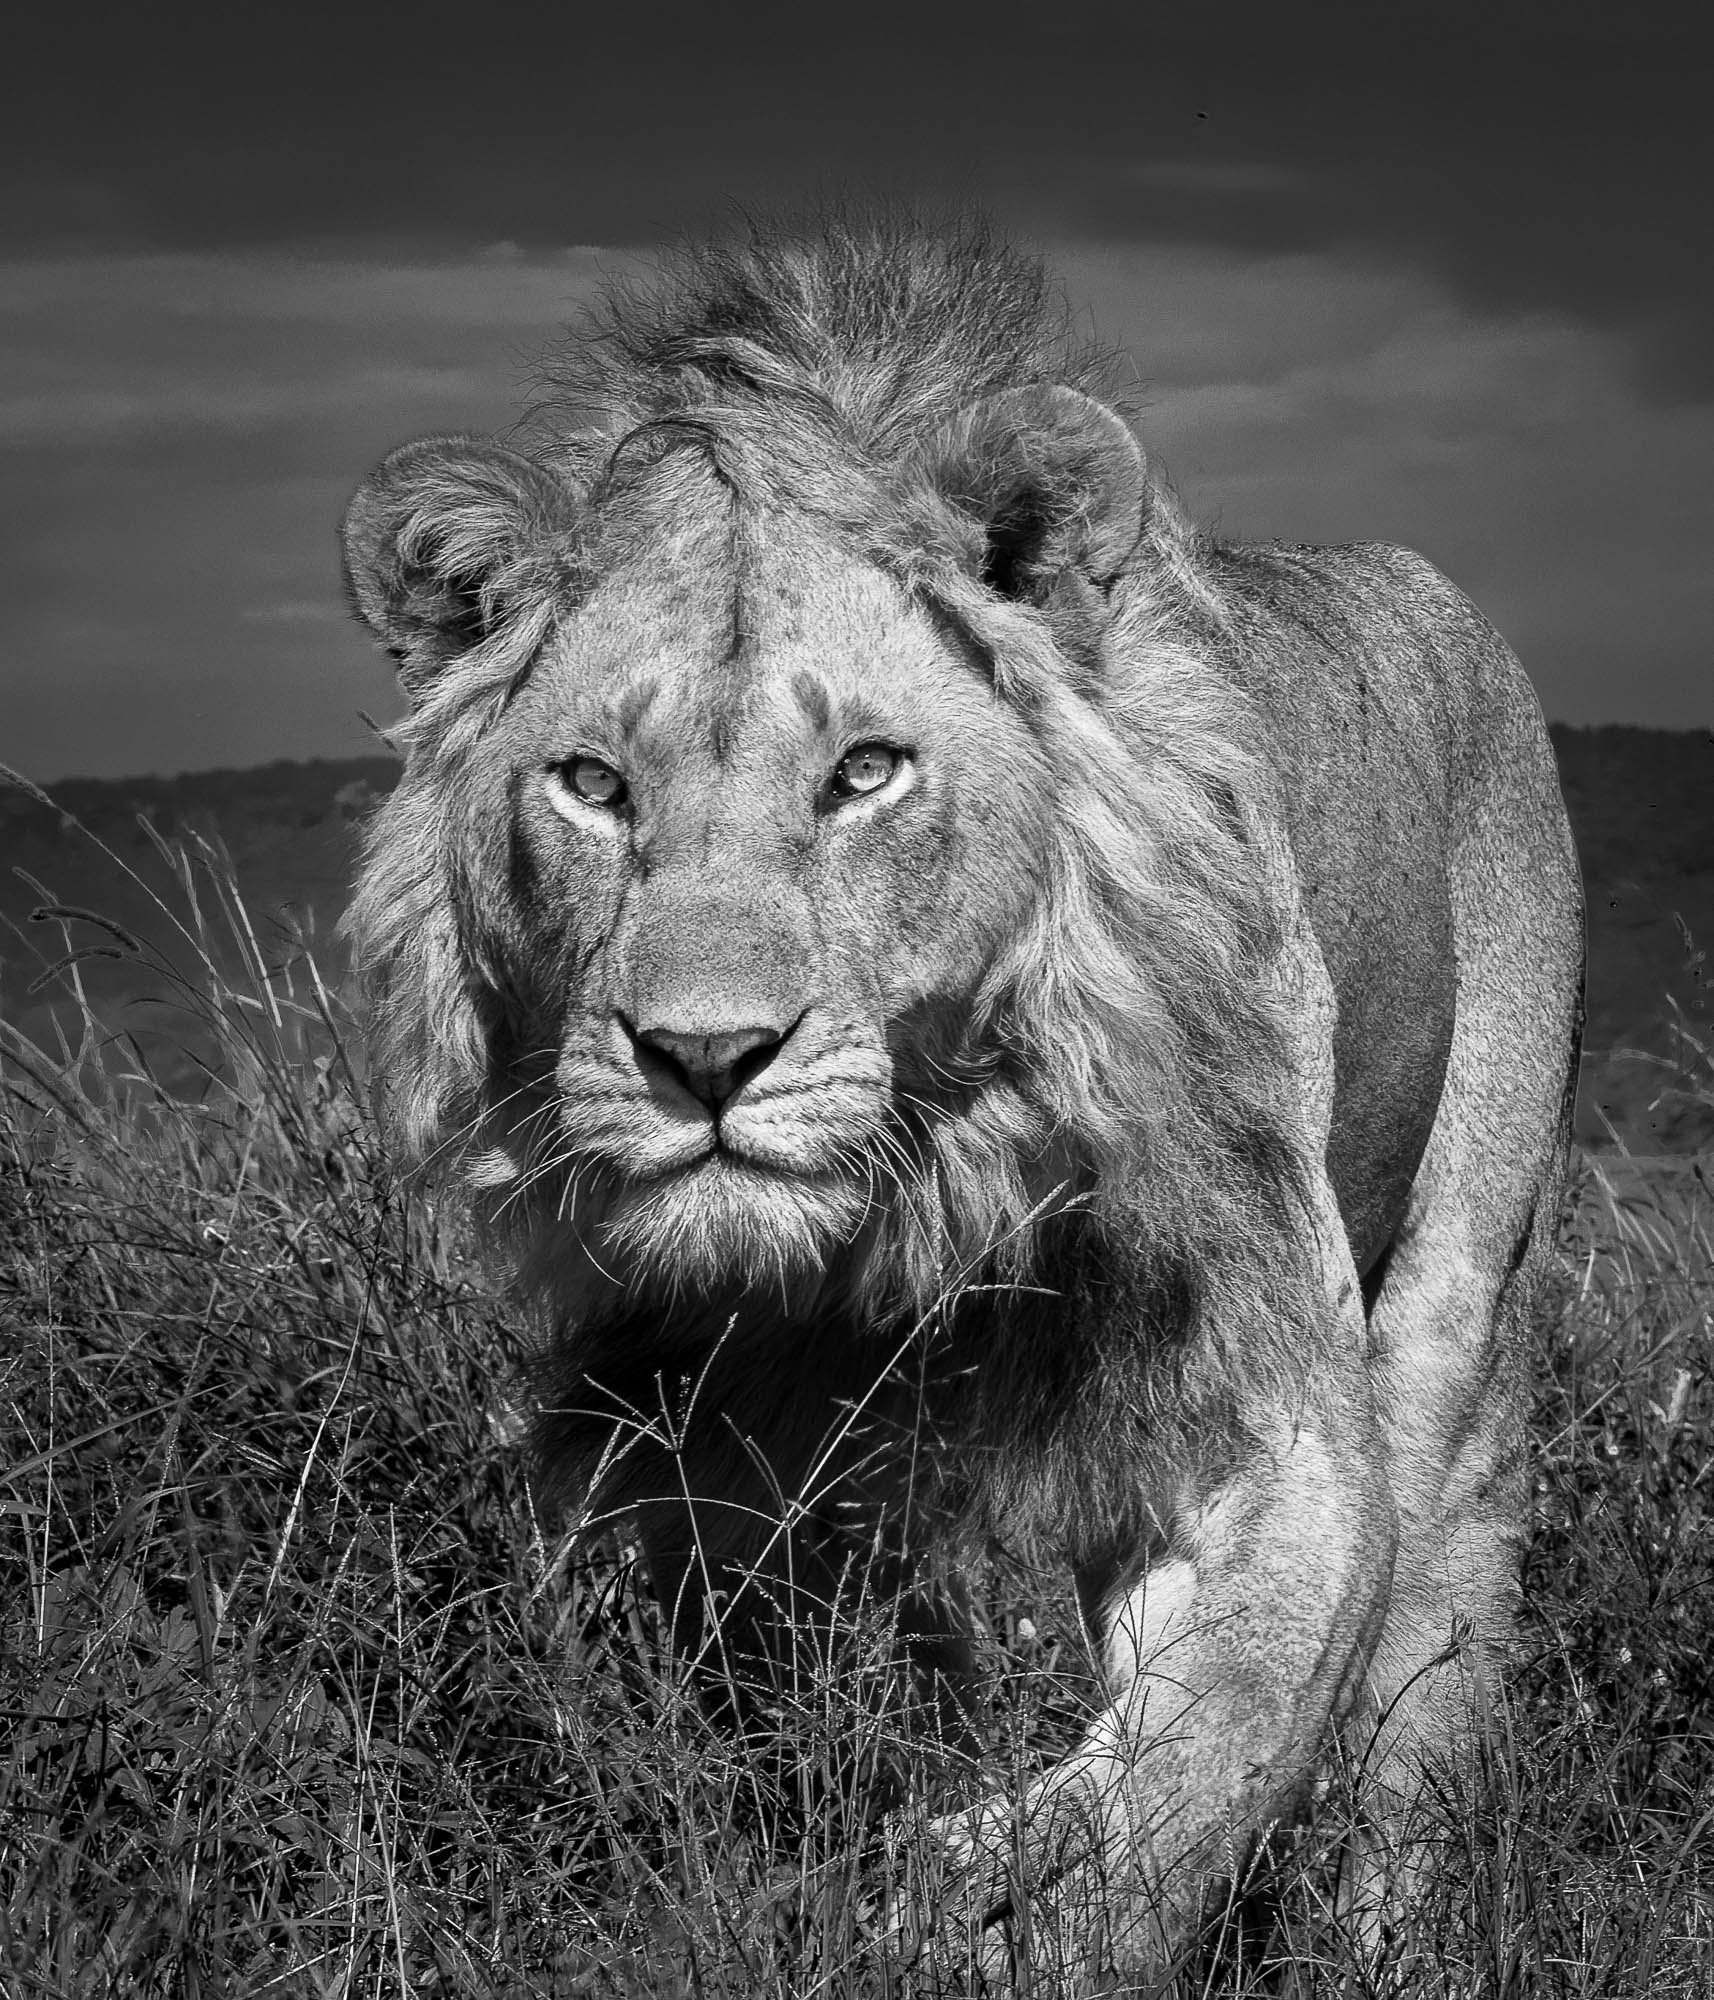
Something different - a very low perspective also adds interest simply because it’s novel – it’s not the usual way we view animals. It also increases your subject’s ‘gravitas’. If you want an animal (or person) to look bigger or more imposing, shoot from below.
Show me, don’t tell me

It’s easier to show than explain, so take a look at the example images in this post and linked gallery – hopefully the difference and benefits will be obvious.
Getting Down
Now that we understand some of the benefits of a low camera angle, it’s time to move on to how to accomplish it. My friend and often co-workshop leader, Leighton Lum, introduced me to his Low Angle Monopod method during my first trip to Africa and it’s responsible for some of my favorite images.
DISCLAIMER: Use this technique at your own risk! It involves sticking parts of your body outside the safety of the safari vehicle – don’t get so absorbed in taking pictures that you lose situational awareness. If a curious lion approaches too close, get all of yourself inside the vehicle immediately even if it means leaving your equipment outside temporarily.
Equipment – The Basic Rig
Camera –it’s possible to make this technique work with a dSLR, but a mirrorless body, especially one with an articulating screen and Animal Eye Focus capabilities are really what you want.
Lens – a medium telephoto like a 70-200 mm is our recommendation. A rotating collar mount is especially helpful so you can orient your camera right side up
Monopod– nothing too special here, most models will work but something lightweight will help minimize arm fatigue. A ball head is optional but keep it lightweight as well.
Remote Release or Camera App – you’ll need a way to trigger your shutter. Every camera manufacturer makes a wireless remote release for their cameras and there are plenty of third-party options as well, all relatively inexpensive. I really like these remotes by JJC for Nikon, Canon & Sony because they work via Bluetooth, eliminating the need for a receiver/connecting cable (requires a camera w/Bluetooth capability). Your camera manufacturer’s mobile app can also serve as your remote release but we’ve seen mixed results – sometimes there’s a slight delay between pressing the button in the app and the actual camera shutter click.
The Technique
Establish a connection between remote release and camera following the instructions of your remote release hardware or app.
If using a ‘traditional’ remote release, mount the receiver in the camera’s hot shoe and connect the cable from the receiver to the appropriate port on the camera.
If using Bluetooth remote or camera app, create a wireless connection between the remote trigger and the camera according to instructions provided
Set Autofocus – Enable Animal Eye Focus and use it conjunction with the Wide/Large area or Full Screen option in AF area setting if possible.
Rotate Lens Collar – so that the mount foot is facing up and attach monopod
Tilt your LCD screen up so it’s facing up and viewable from above
Test – make sure everything (camera and remote release or app) is turned on and give it a try. Make sure you can activate autofocus and fire the shutter using your remote release or app. Practice passing the rig through a vehicle window, lowering the camera, finding and focusing on your subject, and firing the shutter. Adjust your zoom as necessary and leave plenty of room to crop and straighten crooked horizons.
Be patient and keep practicing. It’s normal to feel clumsy at first and your results may be less than stellar. This will improve with practice.
Note: if you use Back Button focus and have disabled Shutter button AF activation, you may need to re-enable it
Randall's rig
Options & Finer Points
Look, listen to your eyes – the low angle technique is a great arrow to have in your quiver but it’s not always the right choice for every image.
Switching between low angle and regular shooting is time consuming. If possible, it’s nice to dedicate a second body to low angle shooting.
The cable connecting your remote receiver to the camera is easily damaged. Carry a spare and be careful not to pinch or stress the cable connections.
In bright daylight the monitor can be hard to see. An LCD shade might help, but also keep in mind it’s not necessary to see every detail - you’re relying on the camera’s AF to achieve focus and seeing less detail is often helpful for composition.
Next level – Randall Ball’s new and improved version of the low angle rig. We’ll save the details for another post but leave it to a Cajun to take things up a notch.
Have fun, be safe, good luck!